2025 Solar & Battery Storage Reach Milestone⚡Statistics Australia
Explore how Australia’s Q4 2025 solar and battery data highlights a major milestone: majority renewable contribution to daytime electricity demand.
Read more
Take Advantage of the Federal Battery Rebate & Maximise Your Savings Today
Posted 13 Aug
Want the latest in energy, solar, and savings?Subscribe to our newsletter – we don’t spam!
If you're someone who wants to know exactly how something works before they dip their toes in, then we completely understand that knowing what the solar and battery installation process is, and how a rooftop solar and battery system installation works with a step-by-step guide to installing solar throughout the Newcastle, Maitland, and Hunter Valley.
Let's break down each step of a solar and battery system installation.
Initial Enquiry: Every project begins with reaching out to our team, whether it be finding us through our website, or through a friend.
Consultation: Your enquiry will be passed on to one of our SAA-accredited solar designers who will reach out to discuss elements of your installation like your energy consumption habits, goals, requirements, and budget.
Site Inspection: Once the booked site inspection day arrives, our representative will travel out to your property to assess elements of your property like roof condition, shading, switchboard capacity, and installation locations.
Conducting a site assessment confirms your site-specific solar installation elements and ensures your quote is accurate and accommodates all necessary requirements like trenching or additional tasks.
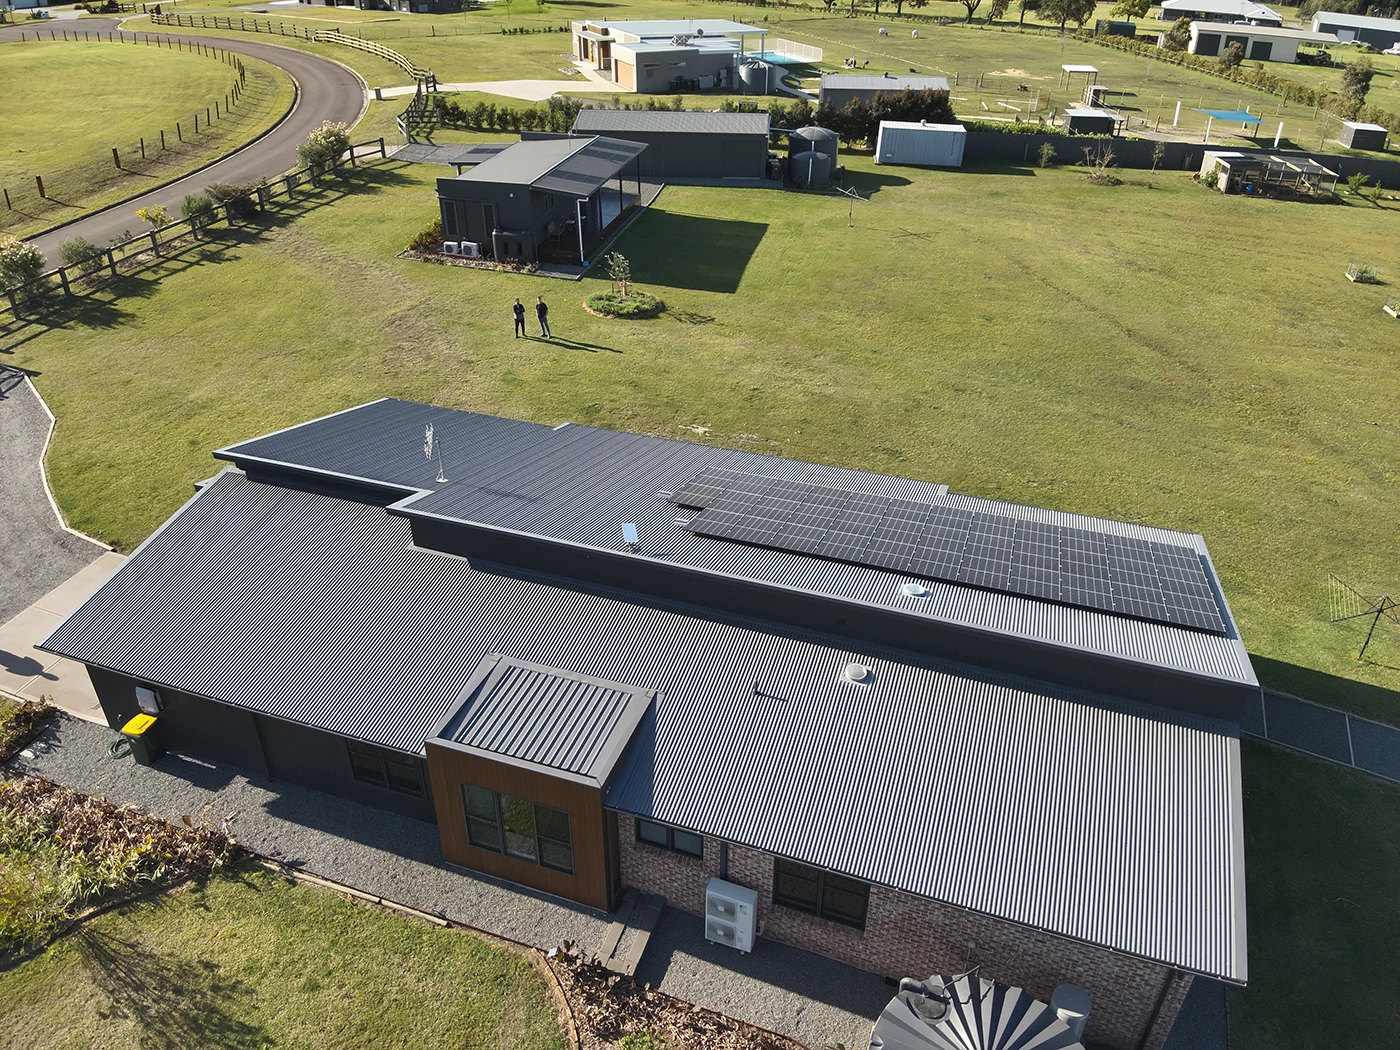
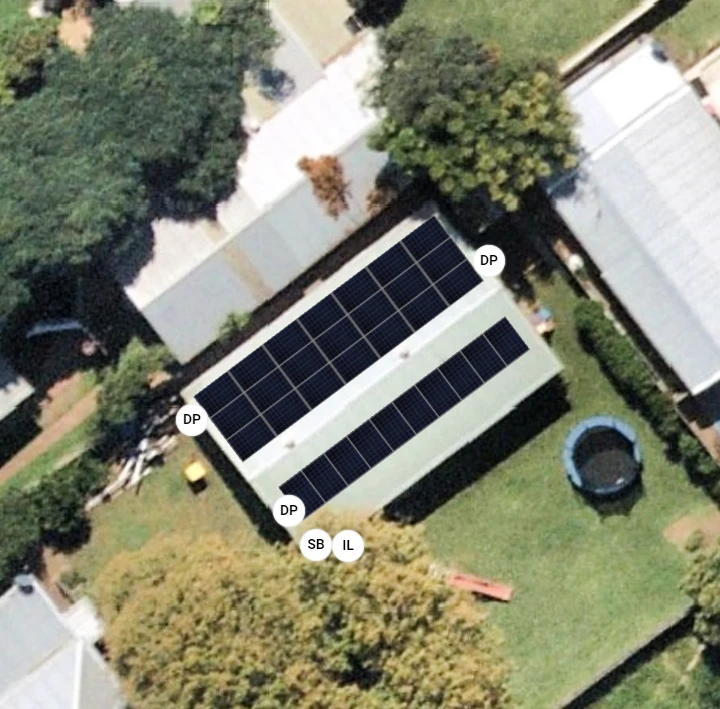
Solar Design: After a site inspection, your solar designer can design and propose various rooftop solar systems options for budget and performance flexibility in the form of an online solar proposal.
Proposals & Quoting: Once your solar system has been designed and optimised, your designer will send you a proposal which includes, pricing information, return-on-investment/payback and sustainability statistics, system components, and project performance figures, all to help you explore what your investment will look like.
It will also act as a quote for you to accept once you're happy with everything, which then takes us to the next step.
Once your quote has been accepted, we can then proceed with lodging applications and ordering your gear.
Lodging your Grid Application: Unless you have chosen to disconnect your property from the grid, it is our responsibility as your installers to inform the DNSP for your area (Ausgrid, Essential Energy, or Endeavour Energy) that we are altering your property’s generation to the grid.
This involves a strict application process, that requires information such as your NMI (National Metering Identifier) and any existing
solar/batteries that you own.
Ordering Solar Gear: Once we have received permission from the DNSP to install the proposed embedded generation (solar)
or battery modules, our supplier relations team will order the products for your solar and/or battery system.
Subsidy Setup: Our team will now set up your project with an STC trading partner who helps solar installers to comply with the government requirements in order to receive a Small-scale Technology Certificate (STC), which helps reduce the cost of solar for eligible properties.
We deal with the STC trading on your behalf to save you the hassle, the resultant discount being factored-in to your original quotation.
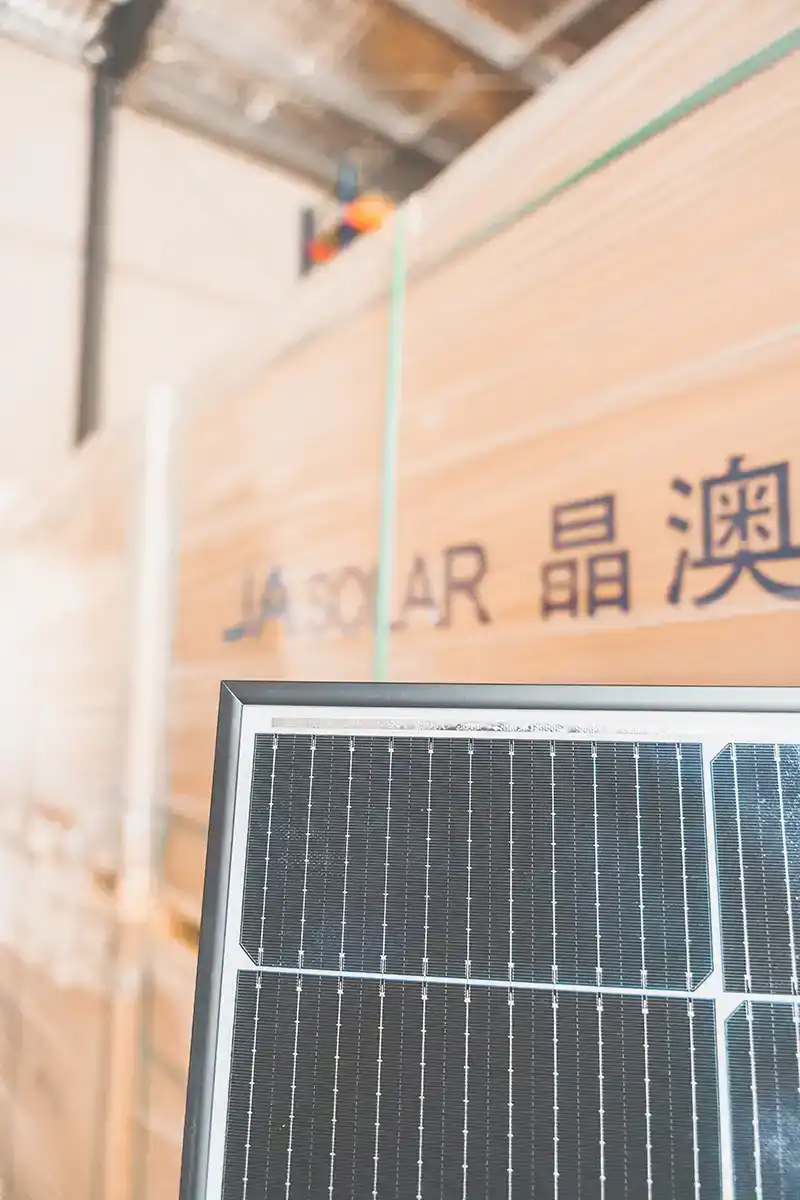

Scheduling: Our scheduler will reach out to you to organise an installation date that is ideal for you/your business and our busy solar installers! Most residential systems take 1-2 days to complete, depending on the system size.
Technical Review: In the lead-up to your scheduled installation date, our technical team will conduct a full technical review of your installation. This involves poring over the various information collated about your system and property collated during the original site inspection, product datasheets, proposed system layouts, and consultation with the assigned solar installer.
Your physical installation is now ready to proceed! All this preliminary work contributes to a smooth, compliant installation and sets you up for optimal solar energy production.
On your scheduled installation day, the installation crew will arrive at your property with the helping hands and gear needed to complete your solar system installation.
One of our qualified Tradespeople will speak to you or a trusted party about any site-specific details (locked gates, pets, previous damage to roof/property).
The solar installer's initial setup includes all the required safety equipment and systems that will ensure maximum safety and protection for our team, you, your home or business, and anyone else who may come into contact with the property during the installation period/s.
This includes installing fall-safety equipment such as edge protection, anchor points & harnesses, as well as tying-off the ladder access point. Our teams are fully-qualified in Working at Heights, and the Tradesman is a qualified WH&S supervisor that will ensure complete safety for anybody around site.
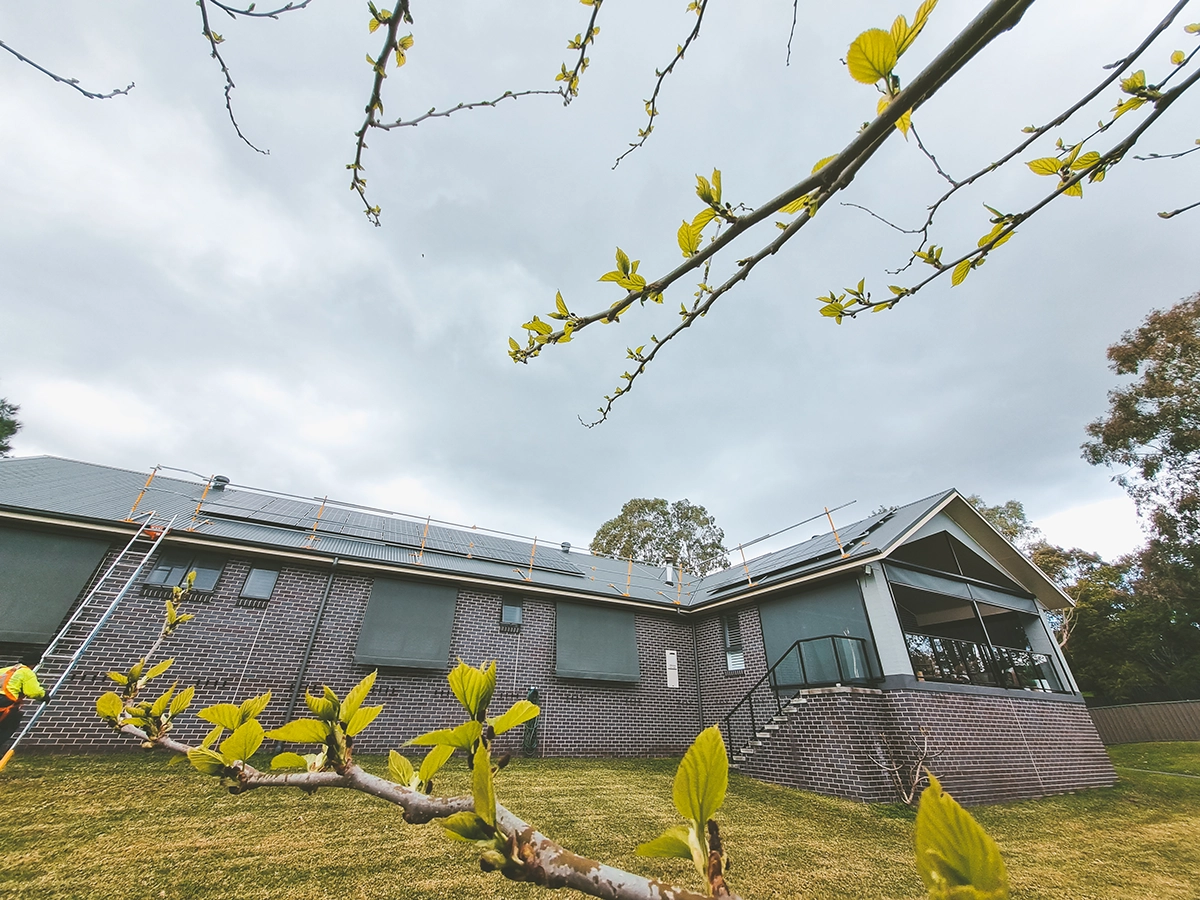
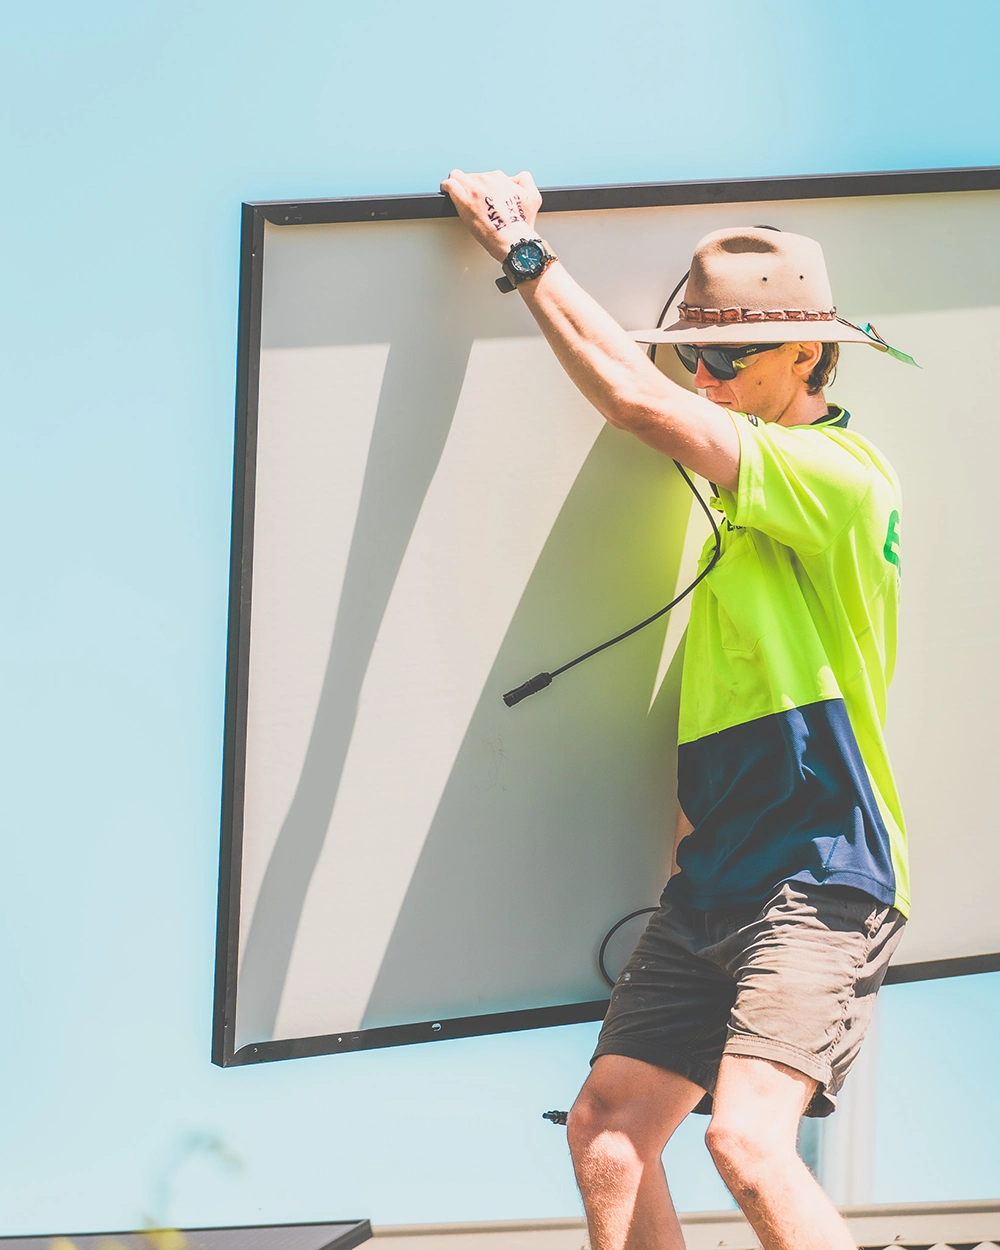
Racking: The first part of the solar system that we install is the racking which
is an interlocking racking system that binds your panels to the roof face. This allows the panels to stand firm against strong
winds, to ensure longevity.
Roof Penetration: Before panels can be installed, a small, precise hole must be cut into the roof to allow cabling to be fed safely from the panels into your insulation and to your inverter. To seal this hole, we use Dektite.
Solar Panel Installation: The installation team can now lift your panels onto the roof, lock them into the racking system, and connect the panel cabling. Panel individual cabling are connected to allow the entire array to be energised together.
Wiring Installation: Each panel is connected and all electrical connections are completed under AS3000 Australian Standards.
Inverter Installation: The Installer then installs your inverter in the designated position. This spot is usually chosen by the system designer, who takes into account the most efficient cable route, and customer preferences.
Inverter Connection: Next is the connection of your inverter to the panel cabling that has been run through the wall. Our Installers are experienced in ensuring that wall penetration is neat and tidy, our flex conduit and cabling providing a polished final product. The inverter can now be powered on and connected to Wi-Fi.
Cleaning the Site: Our teams pride themselves on leaving your site clean and tidy after an installation is completed. Any
rubbish or debris will be disposed of, and no tools or extra materials will be left on your premises.
Informing your Energy Provider: Now that you have solar, we need to inform your energy provider of the changes to your electricity set-up to ensure that you receive the feed-in benefits of connecting your solar system to the grid.
Our administration staff will complete some paperwork – called a Service Works Request (SWR) – that may require your signature before sending it to your provider (eg. AGL, Energy Australia, etc.).
This company may determine that a new smart meter is required to accurately read the solar output at your property.


After your solar has been fully installed and commissioned, we are required as your installers to detail the size and type of products that our team has connected to your property. This is required under the Australian Energy Market Operator (AEMO), who track energy alterations nationwide.
We'll also connect you to your system via WiFi to ensure you can monitor your consumption and generation.
As our final step, we will send you a full Owner’s Pack for your system. This includes including rebate summaries, operation manuals, important safety information, recommended maintenance, and warranty documentation for the workmanship and products that we have installed at your property.
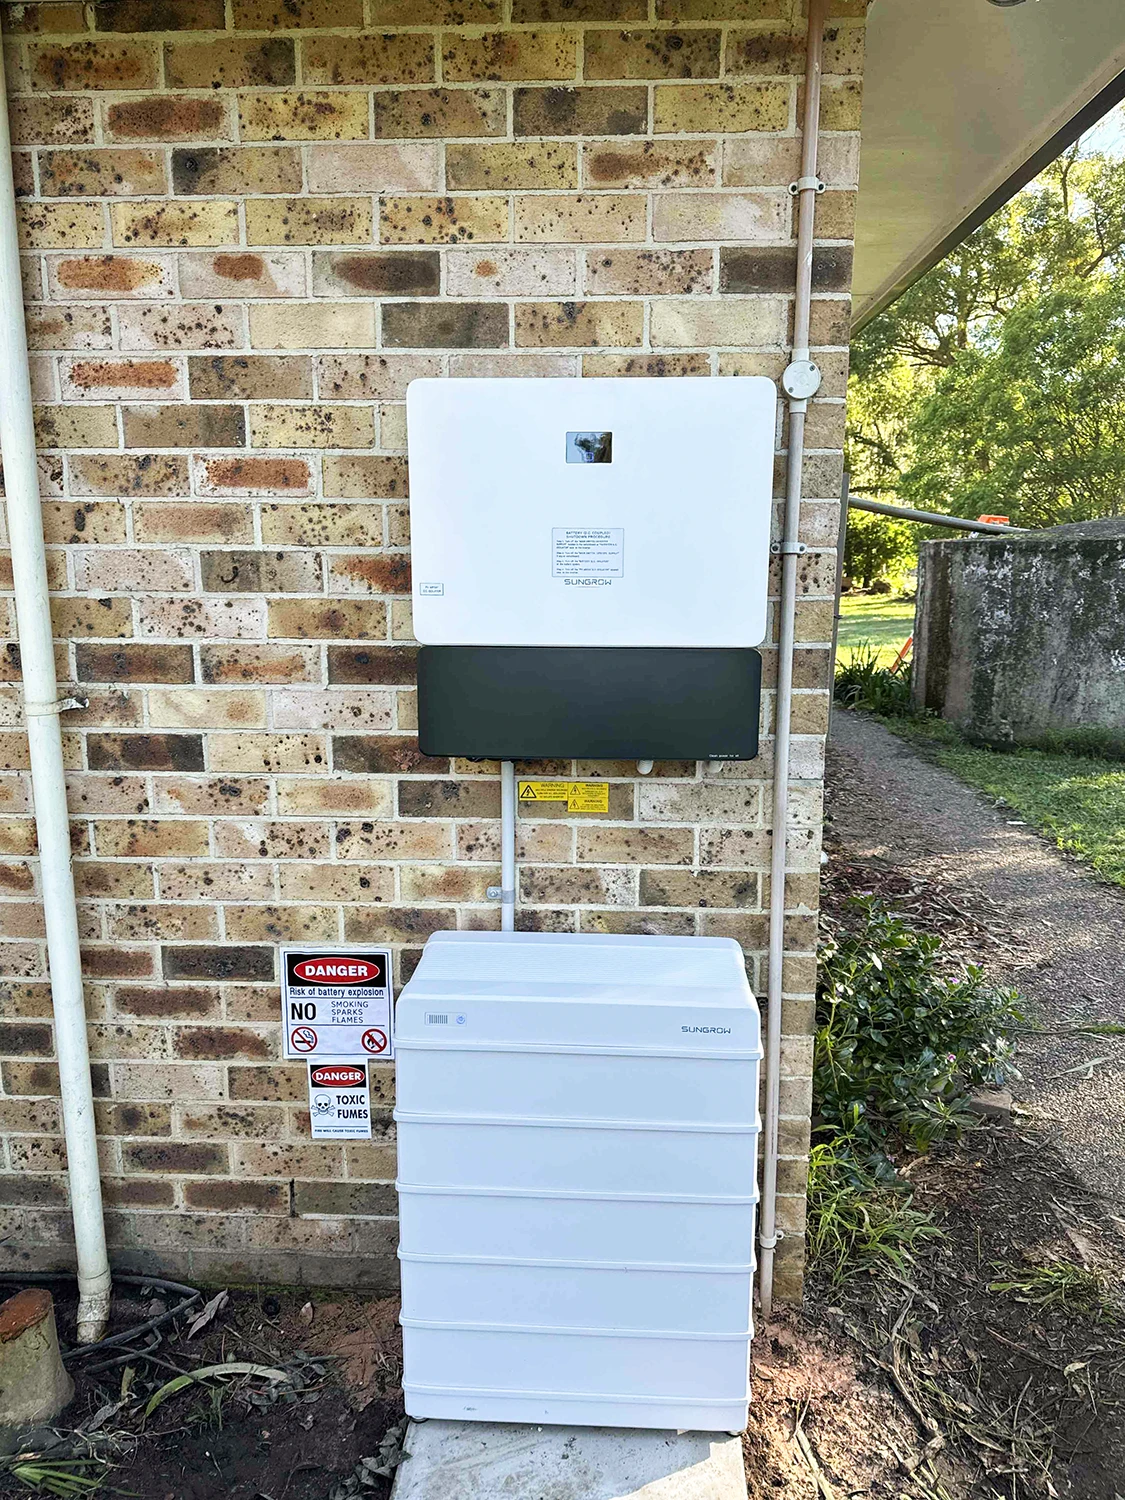
If you've opted for a solar battery storage installation along with your solar system, the solar installation will typically install this right after your solar installation.
Finding the right battery for your home would have been included in your solar proposal, where it will also display information on a solar-only vs. solar and battery setup where you can compare savings and projected system performance.
Installing a solar battery involves mounting and wiring depending if you opted for a wall or floor-mounted unit, backup circuit which is typically single-phase, integration with your solar inverter, commissioning, and setting up your app for monitoring and control.
There is your complete step-by-step guide to how rooftop solar systems are installed. It is also important to note that both commercial and
residential solar installations will have varying requirements which will vary project to project. Elements like tin vs. terracotta, roof
orientation & tilt, as well as available rebates and incentives for properties.
Explore how Australia’s Q4 2025 solar and battery data highlights a major milestone: majority renewable contribution to daytime electricity demand.
How rooftop solar helped NSW avoid blackouts during the 2026 heatwave, reducing grid stress & supporting record electricity demand across Newcastle.
Explore Elite Power Group's solar and battery installation statistics for 2025, and how we performed over this year of operation in Newcastle and Maitland.
Renewable News Articles
We've invested in becoming fully-licenced and qualified installers to ensure Newcastle homes and businesses
get the best systems and installations possible. We want to assist Newcastle's renewable energy revolution with quality systems.
Certified solar system installers near you.
Get CEC-Approved Battery Installations.
Fully-licenced electricians in Newcastle.
Convenient EV charging stations for properties.
Leave a Comment